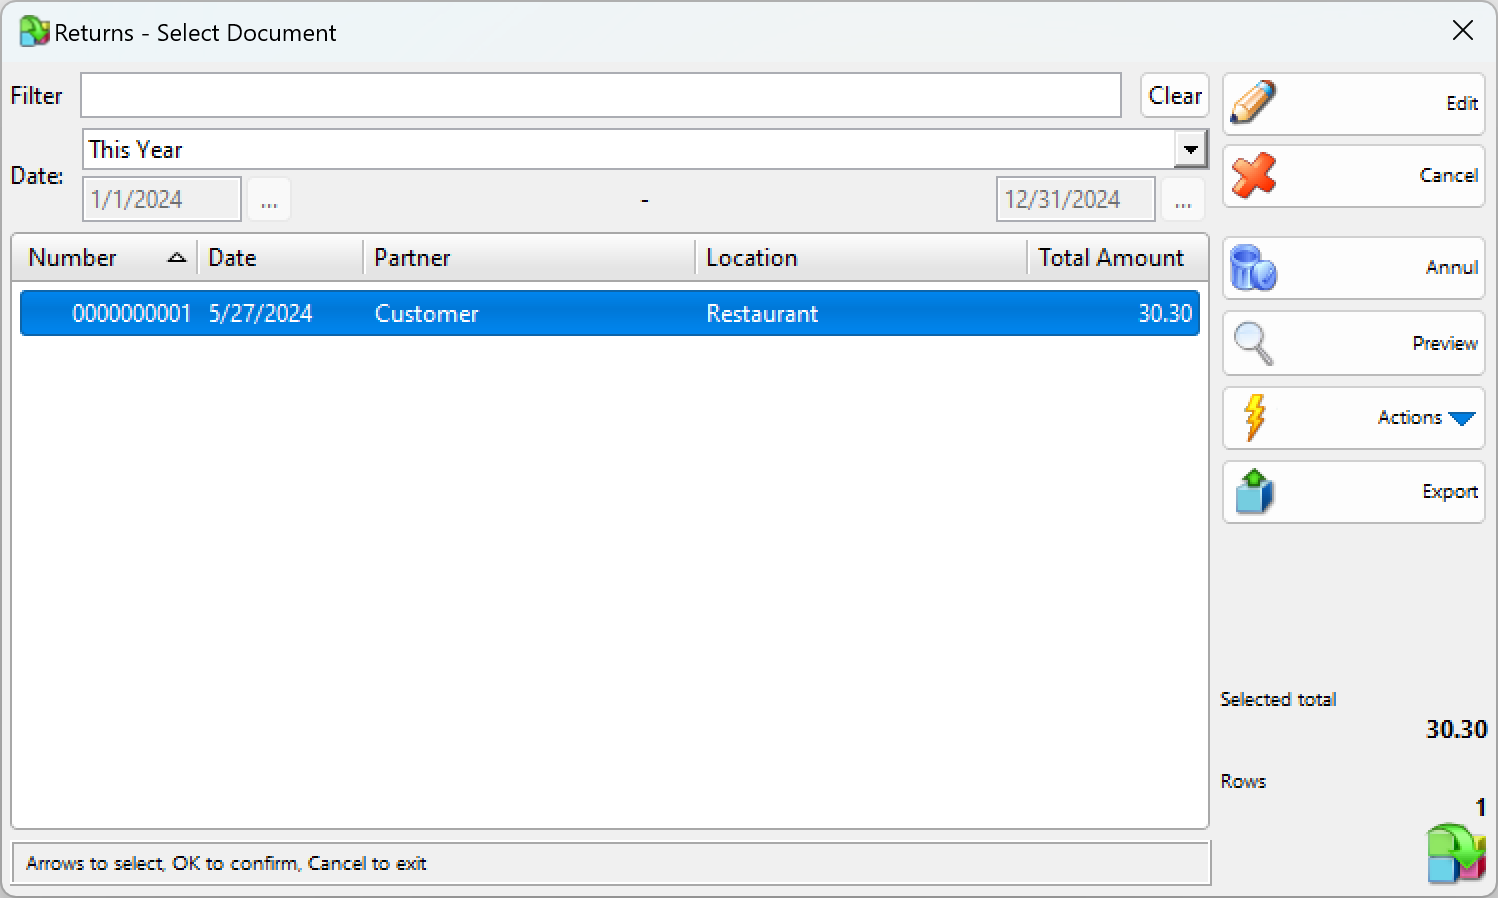
In the Returns – Select Document window select the document you wish to edit or print and click the OK button.
Use the Edit return window to edit or delete an existing return.
The Filter option allows you to quickly position a particular document by typing its number or by typing all or part of the partner’s name. To remove the specified filter click on the Clear button.
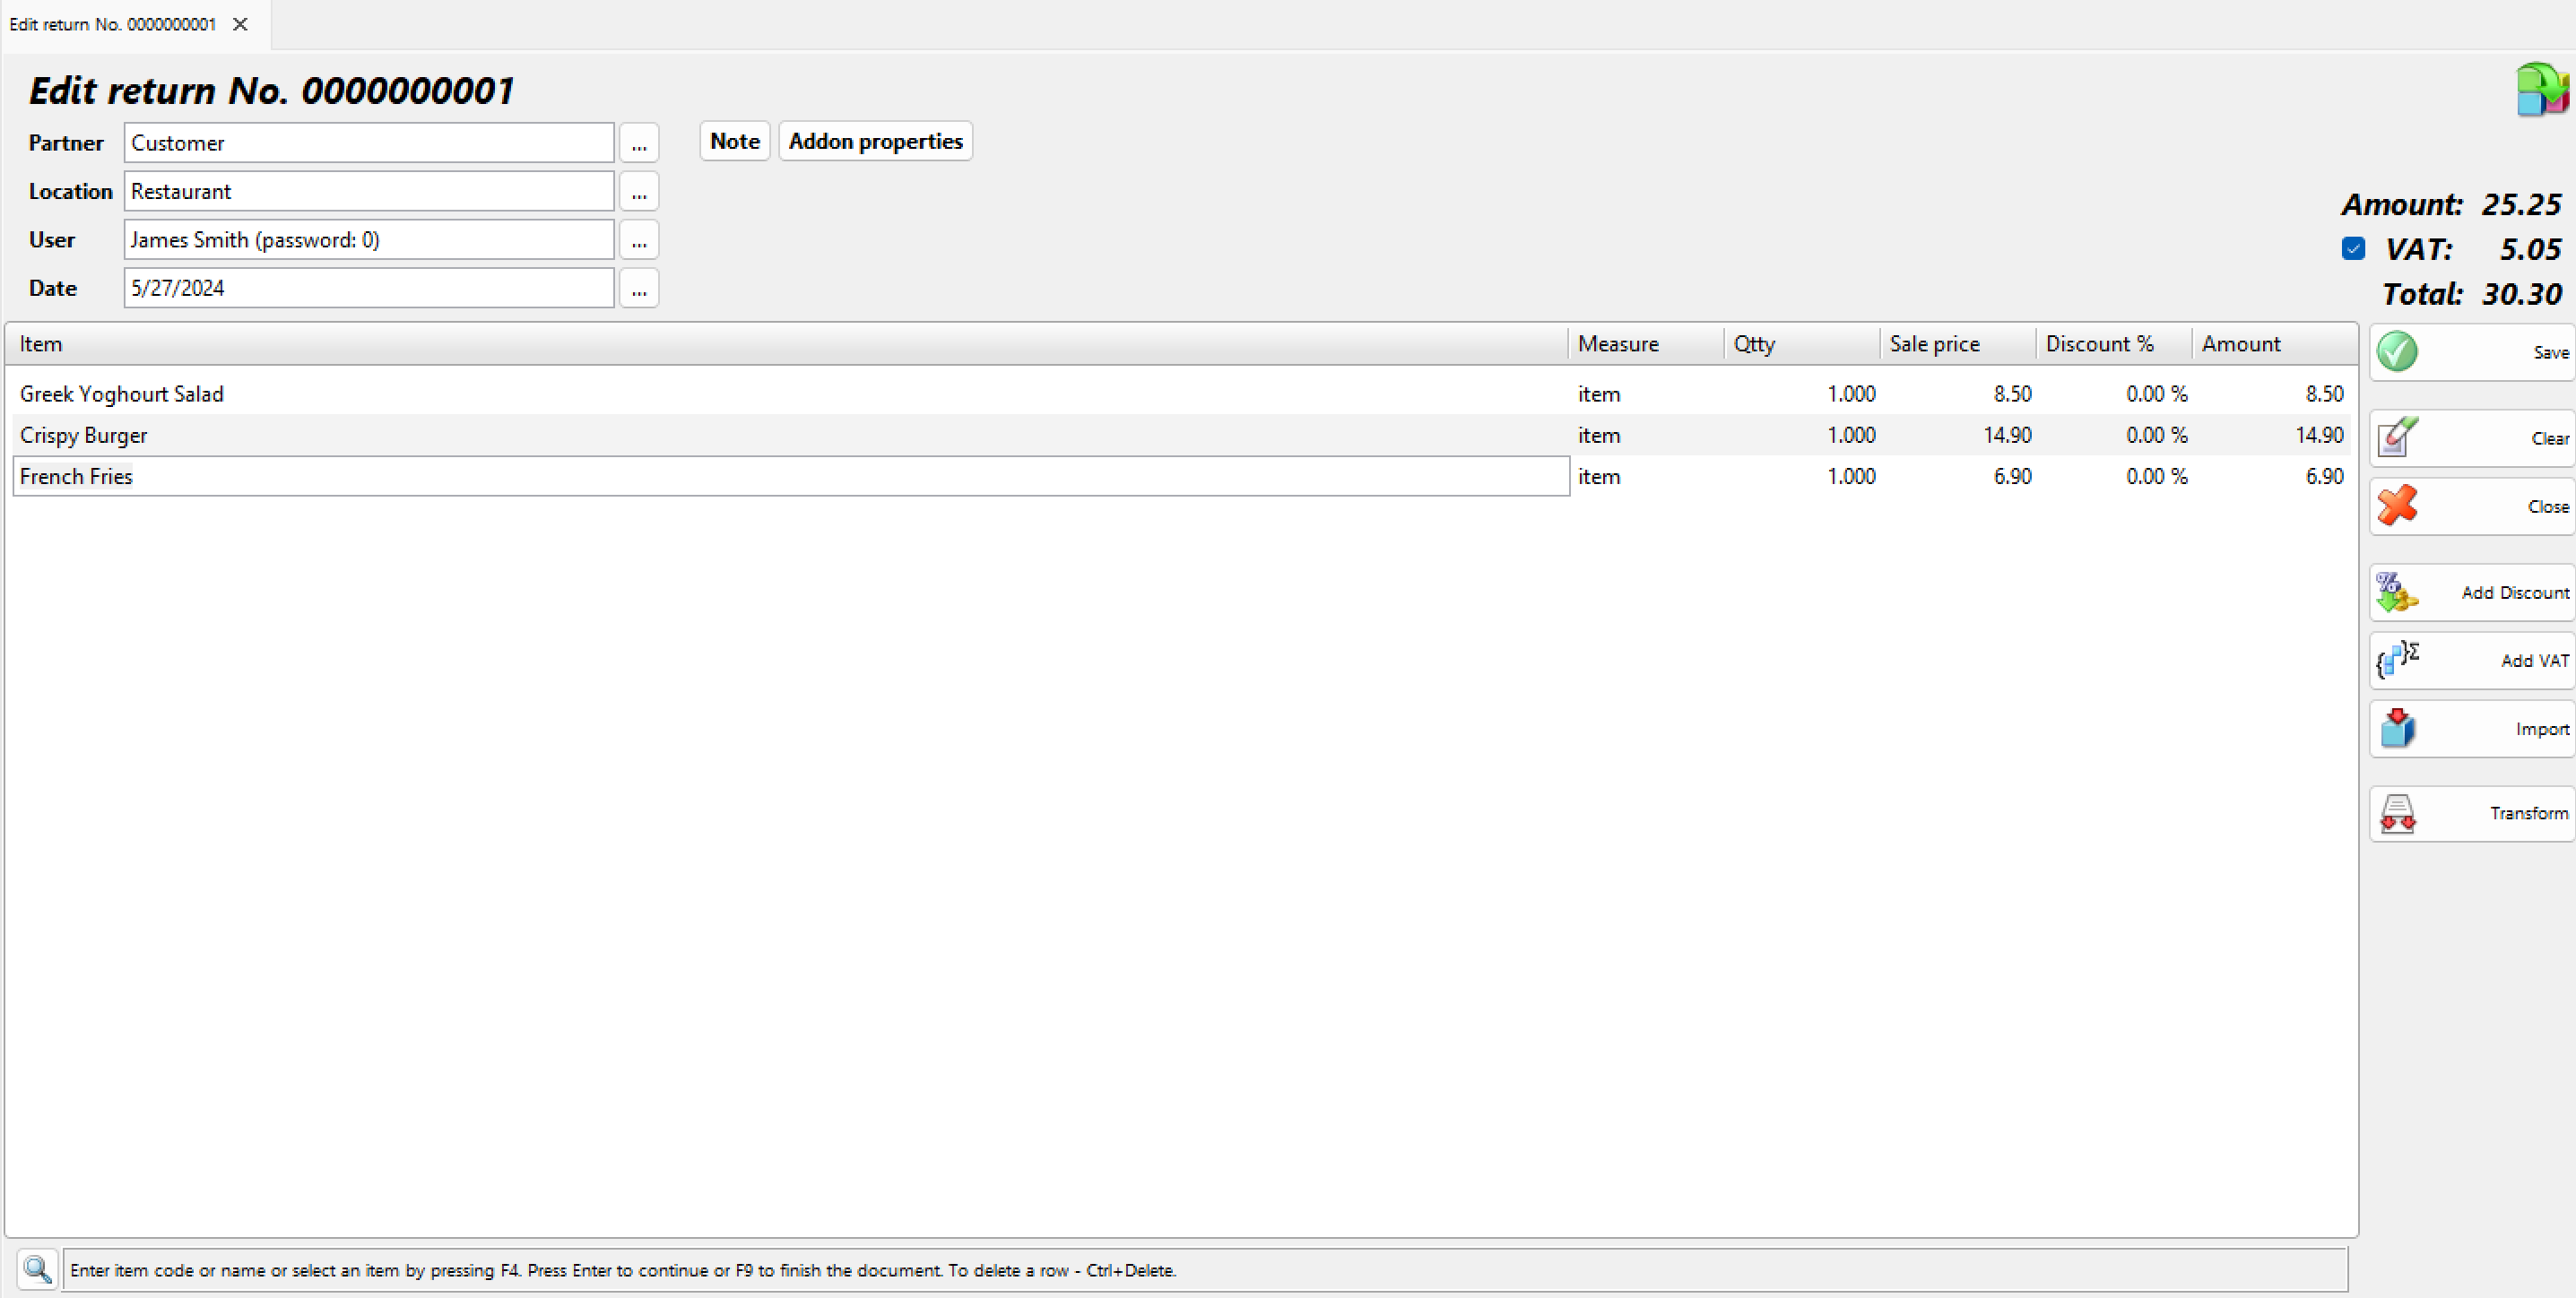
The Partner field allows you to edit the name of the customer, which has returned the item. You can visualize the list by pressing the F4 key.
The Location field allows you to edit the name of the location, in which items have been returned. You can visualize the list by pressing the F4 key.
The User field allows you to edit the name of the user, who has performed the return. You can visualize the list by pressing the F4 key.
The Item field allows you to edit the name of a particular item. You can visualize the list by pressing the F4 key. To add a new item, insert a new row by pressing the Enter key.
You can type a new value in the Qtty field to modify the current quantity.
To remove a particular item from the document, change its quantity to zero. To cancel the entire document, set all quantities to zero.
Double-click the date of the document if you wish to change it. The Calendar window will pop up. You can choose a new date by double-clicking it or clicking the OK button. When you close the Calendar, the selected date will replace the old one in the Edit sale window.
Press the F9 key to save the document.